Crying Suns VFX #1 — De-icing Idaho
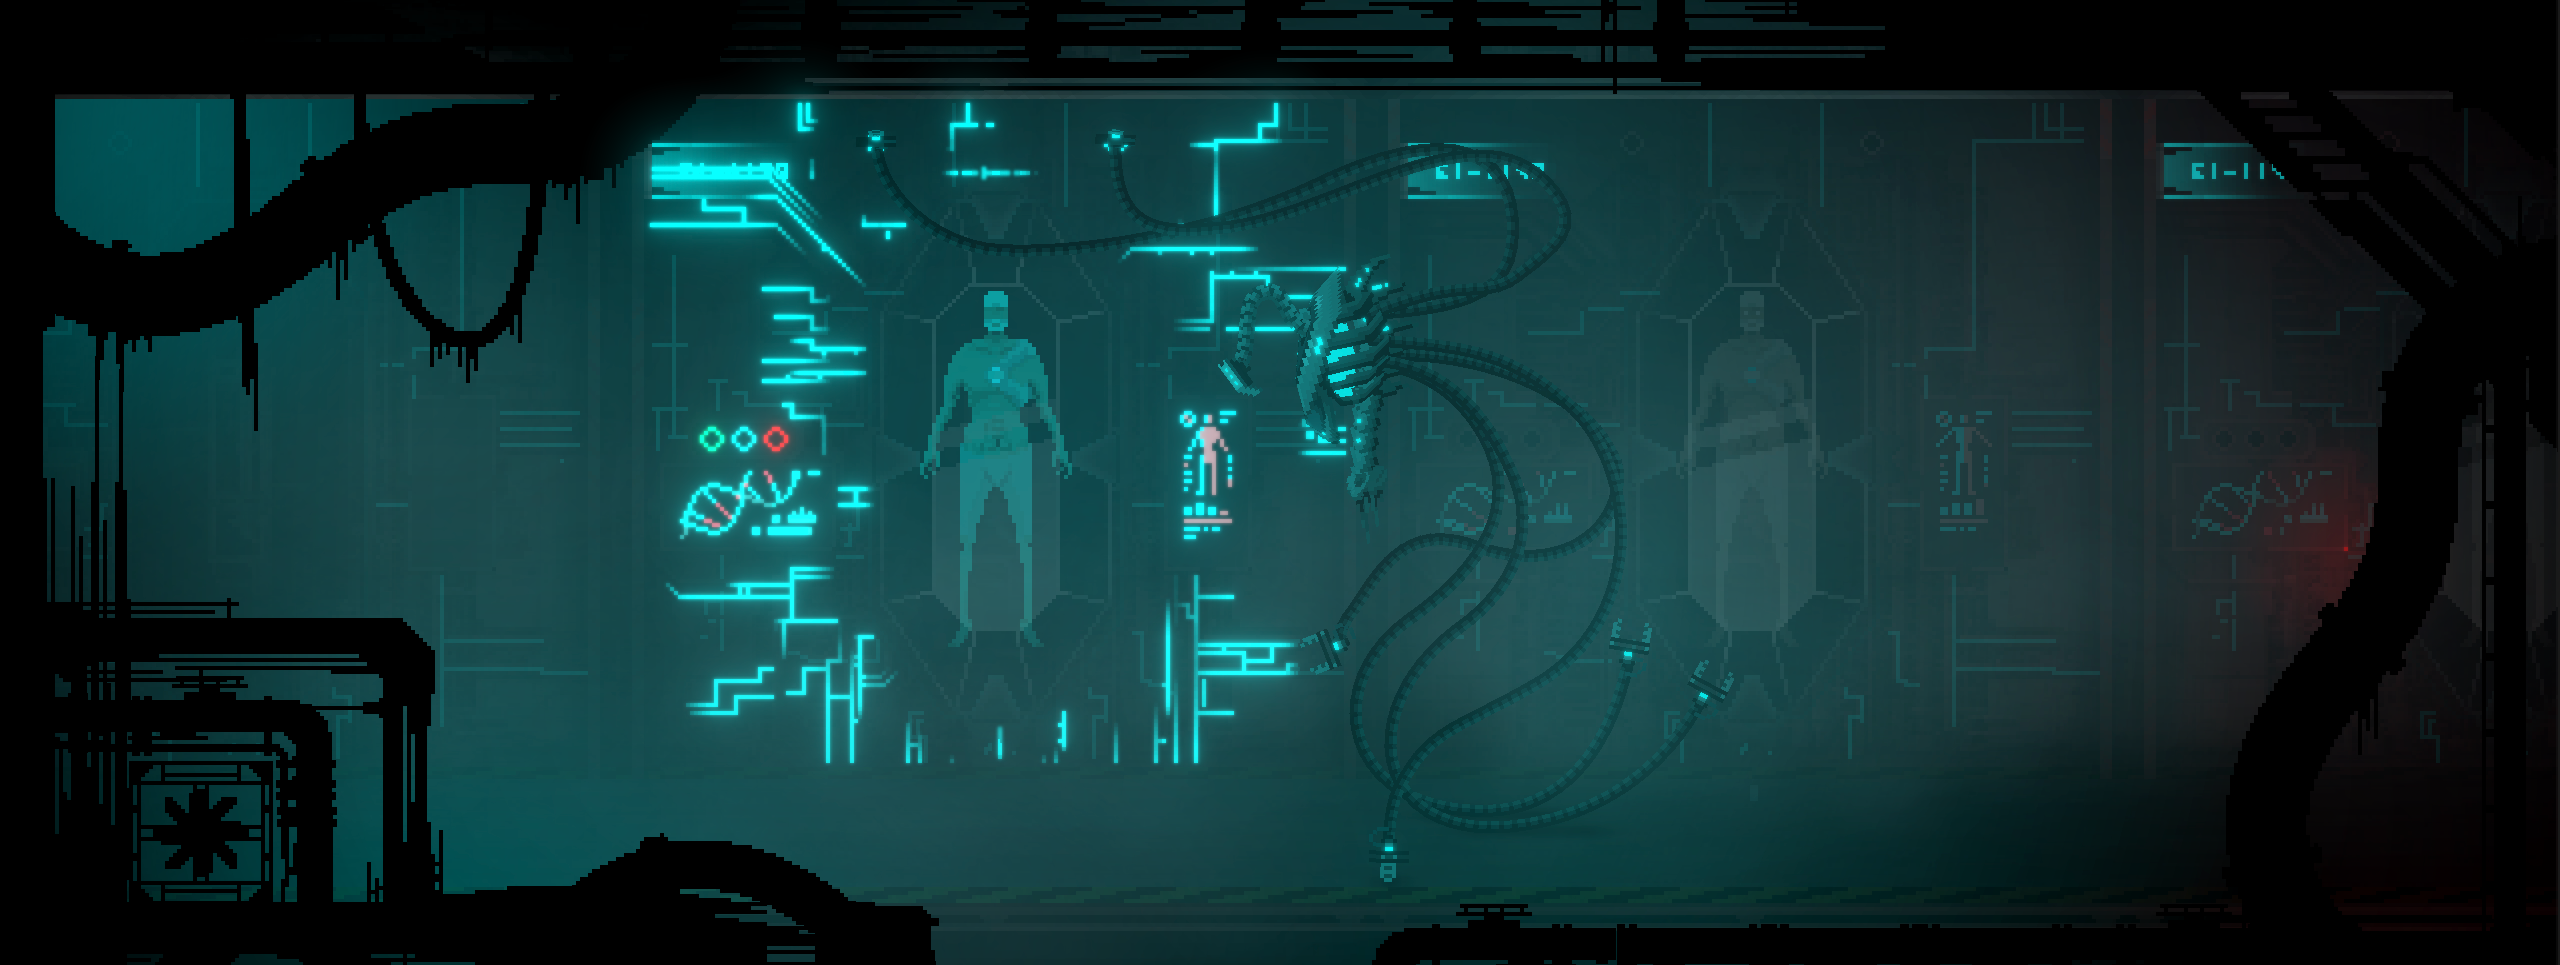
This post is the first of a series around the visual effects of our narrative roguelite game Crying Suns and, as the game is released on Nintendo Switch, how we designed them.
At the end of the introduction sequence of Crying Suns, Kaliban, an octopus-like robot, awakens Ellys Idaho, our main character, from its cryochamber. This defining moment in the game story had to be dramatic and epic in its own right. It was also the perfect opportunity for us to show that even if Crying Suns is a pixel art game, it is not a regular one. So, we made it shine. Literally.
From Light Comes Life
In this post, we will explore how we built the “veins of light” that bring back life to Idaho and ultimately get him out of his sleep in the ice.
For the sake of simplification, let’s say “Animation” is generally referring to the motion of objects over time. In the 2D world of pixel art games, that could mean either changing the position or rotation of a sprite, or sequence multiple sprites to simulate a hand-drawn animation.
In our case, a few years ago, we might have used the latter. But now, thanks to the shader magic, it is less effective, even more so if you want a very smooth animation of the “veins” filling up with “light”.
For sure, the enlightened pixels are moving in our intro sequence. But are they? Motion may only be an illusion, the illusion that once again something moves in space over time. What if instead of changing position or rotation of an object over time, we control time over space?
There is already a very simple type of assets in gaming, and in the graphics world in general, that is specifically designed to store data spatially: a texture. Of course, in most occurrences, a texture will store colors and transparency for your game objects. However, you may look at color as an information, a series of digits that in some cases are interpreted as color. Why not interpreting those digits as time?
Merging Space and Time
In the illustration below, you will probably recognize the pattern visible in the header image of this post. In practice, both parts are members of the same RGBA texture, the left part being RGB and the right A. But none of them are used as actual colors.
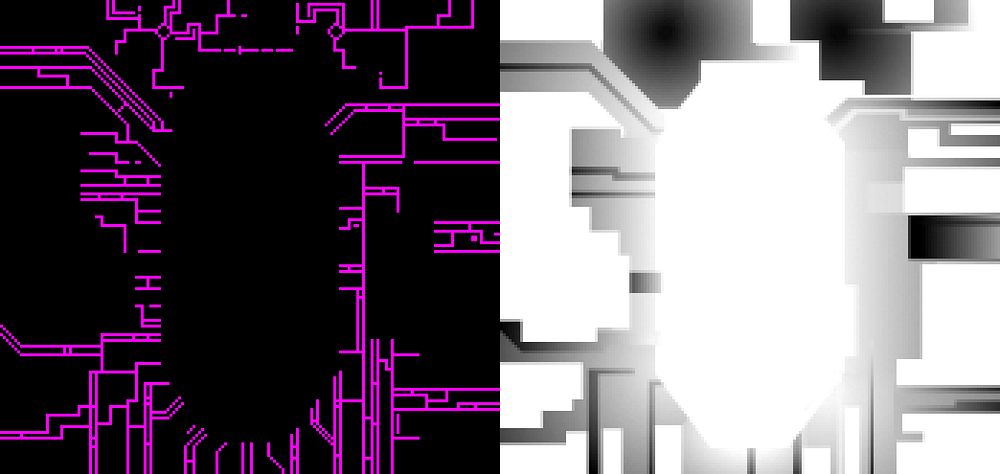
The left part indicates which pixels will be actually rendered. Those pixels will be passed to our custom lighting solution to give them their proper color.
The right part is in fact the center piece as it contains normalized time information. Black is representing the beginning of the animation, white the end, and various shades of gray everything in between.
Where The Magic Happens

Now we have all the assets we need, it‘s time for shader work.
In a single texture lookup, we can get both space and time information. This solution has proven very effective in terms of performance and of control, as our pixel artist was able to animate the sequence precisely, literally by “painting time” in Photoshop.
The shader basically applies some thresholds on the time information in order to produce the correct effect. In our case, it controls the transparency of the pixels. But you could easily adapt it to change color for example.
The shader provides 4 different thresholds:
- two for the extreme values of time we consider
(in our case, outside of those values, the shader produces completely transparent pixels) - two inner thresholds that can help to smooth things
(in our case, transparency is interpolated between the extreme values and those threshold from completely transparent to completely opaque)
And by animating those threshold in the Animation panel, you can create stunning effects. Different animation curves obviously generate different results.


Take Away
For those interested, here is the code of the Unity shader used in the examples above:
Final Result
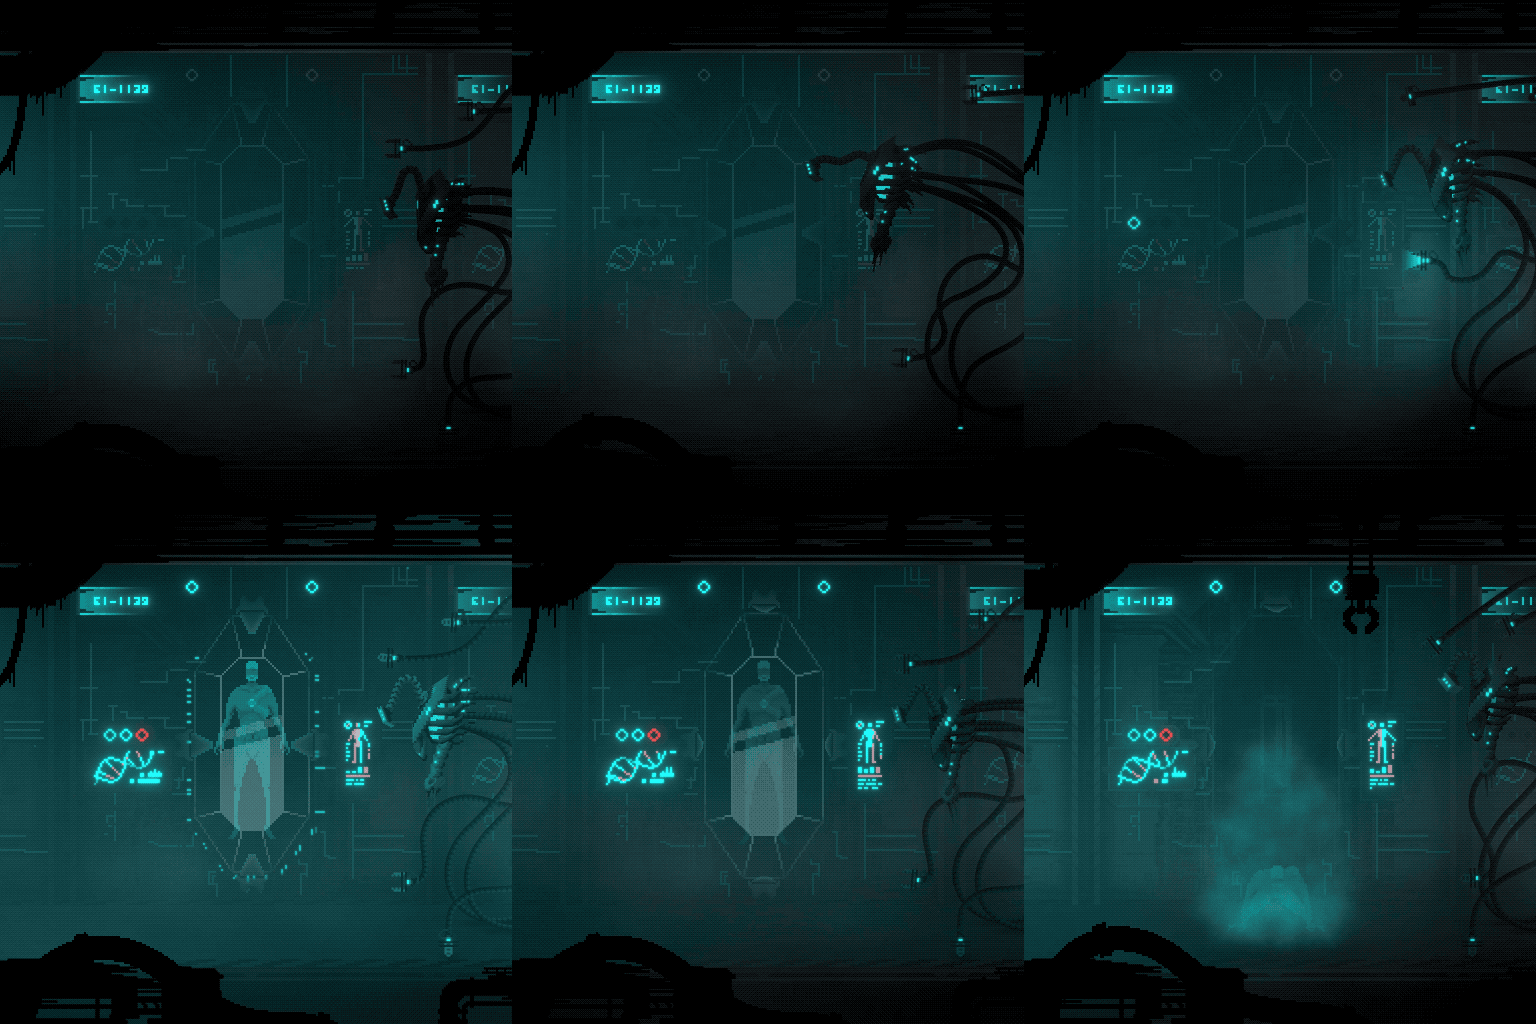
Here how it looks in the final game:
This kind of unusual techniques were used in many places in the game. I will talk about some of them in further posts in the series. They really gave Crying Suns its unique look and feel, between traditional and modern pixel art.


